
Making a flush mounted sewing table to hold my Janome sewing machine was a lot easier than I thought it would be, and less expensive. I started with this tutorial from Blue Dinosaurs, and adjusted it to work for me. It's a great idea, and well-explained.
Here's my final product:


I decorated a sheet of poster board with vintage pattern envelopes, and slipped it under the vinyl table cover. I can change it out whenever I like.

I'm thrilled with the final result, and the cost, about $125, including the $70 table.
If you're looking for a dedicated sewing table, I really recommend doing this. It's a dream to have all that room on the left side of my needle.
Here are my tips for following the tutorial:
1. Although you CAN do this by yourself, it's much easier with another person, especially when holding and measuring things. I was lucky to have hubby get involved, as he's much better at woodworking, and more accurate when measuring.
2. Use an all-wood table. Not sure this would have worked, or at least been as easy, with a particle board or laminate table. The Ikea INGO dining table is perfect.
3. If you choose the Ikea table, be careful where you place the cut-out. Mine was too close to the right side, making it necessary to re-work the design. Another time when a handy hubby was a big help.
4. Cover the table with vinyl, it will allow your fabric to slide better. And, you can add decorative stuff under it, like I did.
5. Cut a hole for the knee lift bar - I can't sew without mine now!
For more details and the full story, check out my QuiltedCupcake Podcast, Episode 54. Listen to learn why I'm sure I married the right man for me!
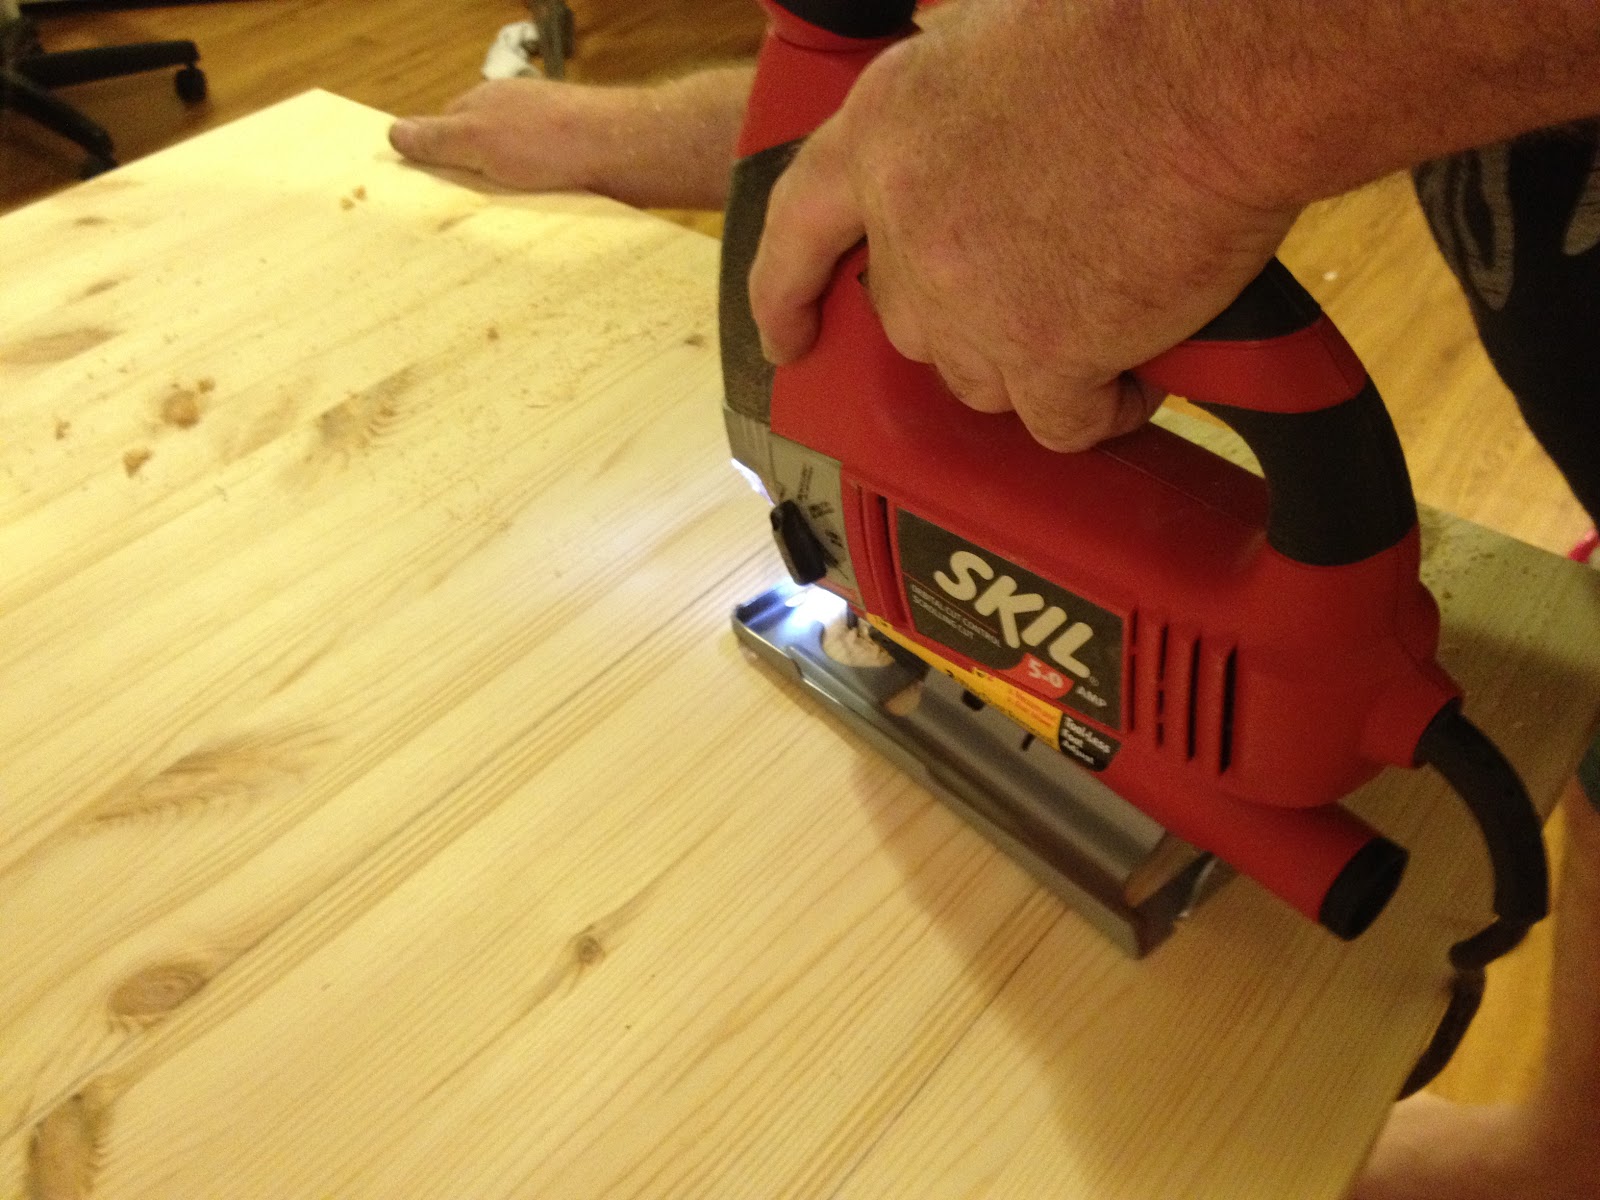
Here are some pictures of the process - click on any of them to make them bigger.


Please let me know if you have any questions about the table. I'll be happy to help if I can.
Great job Jean and handy hubby.
ReplyDeleteThis is a fabulous idea! Thank you so much for sharing how it was made. I have one of those tables in my storage. Woot. Going to unearth it, paint it and get it ready for my Bernina! Excellent idea!
ReplyDeleteWhat a great table for your machine!
ReplyDeleteYour table looks fantastic. Kudos on the project. But I'm confused by the "knee-lift bar" ... Could you explain what that does??
ReplyDeleteThe knee-lift bar is an attachment for my sewing machine (some have them, some don't). It allows you to lift the presser foot with your knee - without moving your hands. I love it!
ReplyDeleteThanks for the explanation. :)
ReplyDeleteGreat solution to table issues....love the machine. :) Knee lift is the reason I finally bought mine, but there is so much to love in the 6300! Thanks for posting the table solution.
ReplyDeletemy sweet beth saw this, and now I need to make one. Thanks a BUNCH!
ReplyDeleteGreat podcast Jean and your new table looks awesome! I couldn't imagine what the envelopes looked like, but now I see... Job well done!
ReplyDeleteI LOVE the knee bar! Glad to see I am not alone. Great idea for the drill hole!
ReplyDelete~Heather
Thank you so much for the tute and links, between them all I finished my own awesome sewing table! Thanks again, for this and all you do!,
ReplyDeleteThanks for the tute and links, I just finished my own awesome sewing table! Thank you for all that you do!!
ReplyDeleteAwesome tutorial! I'm going to be adapting a table for my sewing machine very soon... thanks for the inspiration :)
ReplyDeleteWish I had read your post before making my table. My cut out was to close to the right side of the table as well. I wonder if I can add the shelf now, after the cut-out. Thanks. You did a great job. How did you attach the vinyl? I find the Ikea table a bit rough.
ReplyDeleteKim
So glad this has been a helpful post!
ReplyDeleteKim, I used masking tape to keep the vinyl on top from sliding around. I didn't want to permanently attach it, as I remove it (partially) when I clean out the bobbin area.
Great job! I do have a question though, I like to go full speed on certain things and I had to bring back a sewing table because it vibrated like crazy when I did, do you have any trouble with vibrating or bouncing of the table on top speed?
ReplyDeleteJeannie Beanie, No worries that your table will do the Harlem shake with this one! LOL. I always use the highest speed on my Janome, and never have a problem.
ReplyDeleteI sometimes forget my machine can go slower. I've been using this table for months, and I can't imagine sewing without it.
Enjoy!
While I know the placement is a personal choice, I was wondering if you could tell me how many inches from the front you started your cut? Thank you!
ReplyDeleteKaren,
ReplyDeleteI started the cut on my table about 4 inches from the front, and that's worked well for me. Only thing I'd change is the amount of space I left to the right of the machine. It's about 5 inches, and I'd do around 8-10 inches if I were re-doing the table.
Hope that helps!
Thank you for posting such great instructions and lovely clear photos. I really neeeed to do this so guess what I'm planning this weekend for me and the hubs...yes some sewing table diy! ;)
ReplyDelete